Introduction
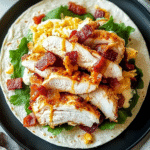
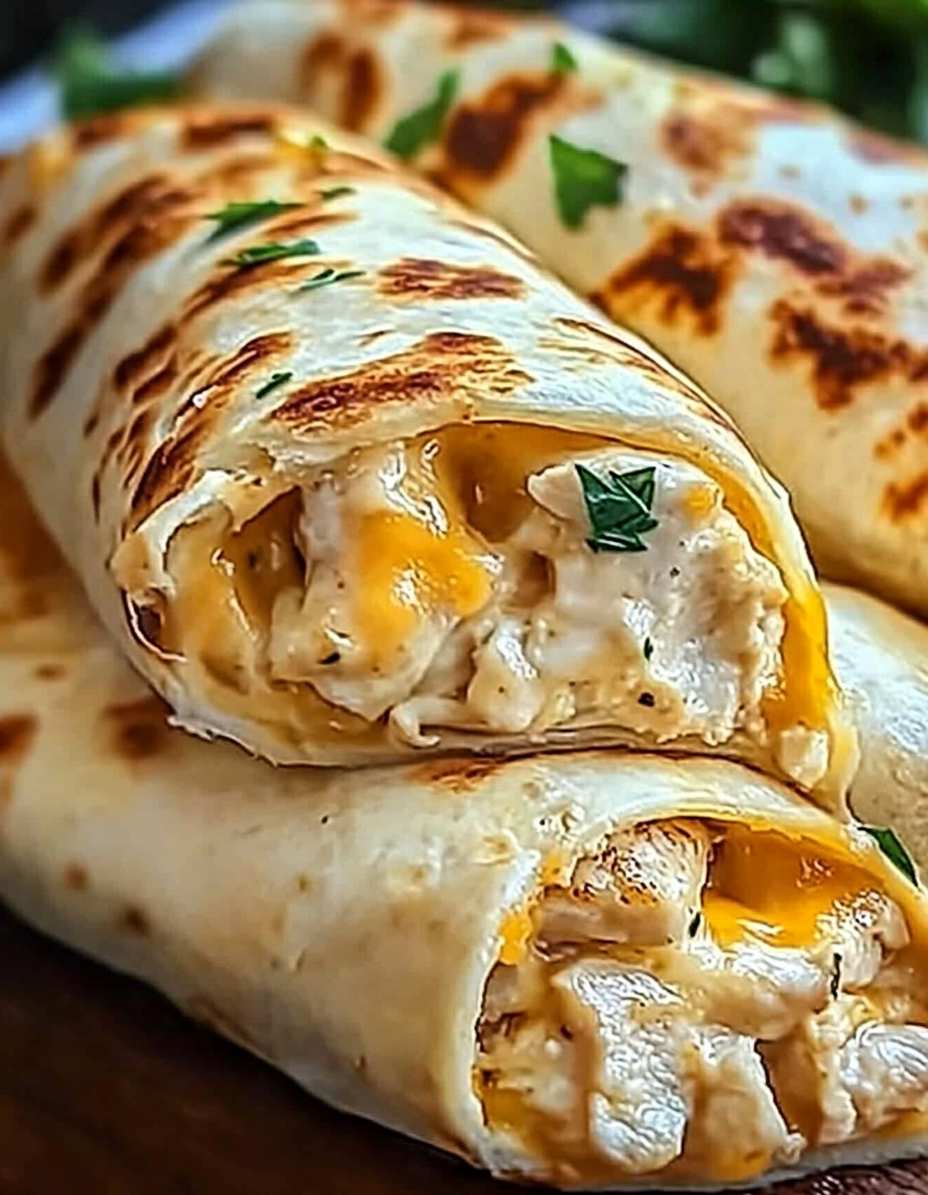
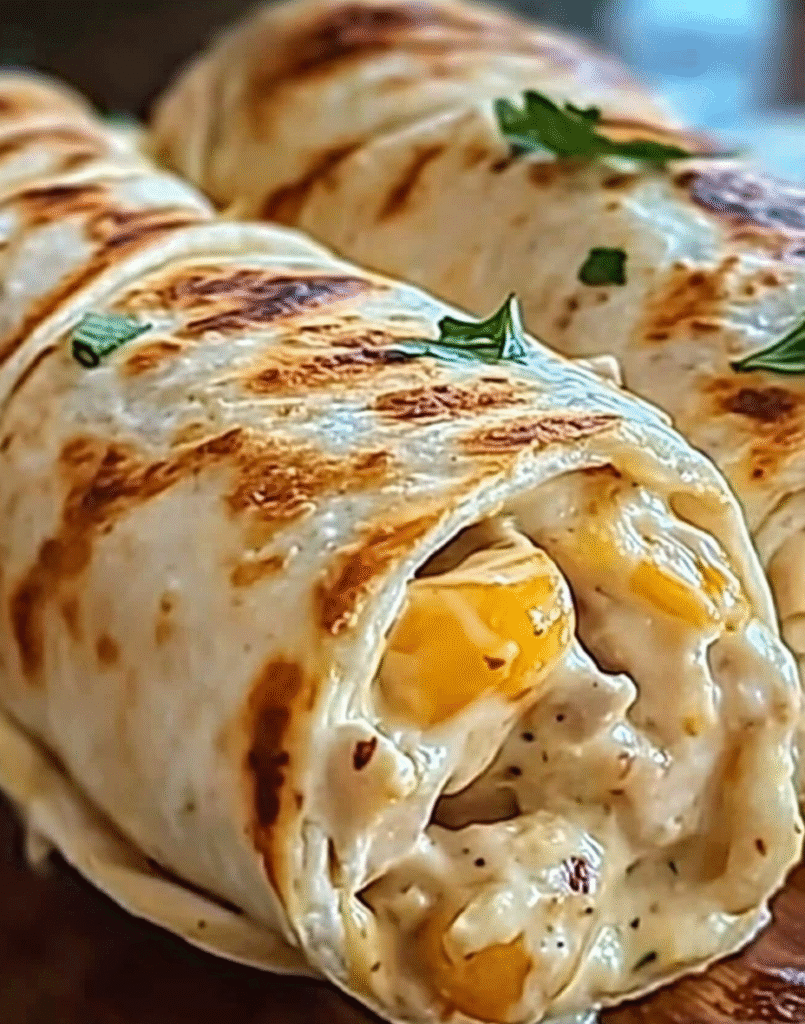
Quick Cheesy Chicken Wrap Breakfast Braid is a clever twist on your favorite breakfast wrap, combining the ease of a morning sandwich with the comforting appeal of a baked braid. A flaky crescent dough serves as the base, filled with seasoned chicken, scrambled eggs, and plenty of melted cheese. Whether it’s brunch, a quick weekend breakfast, or a savory start to a busy morning, this dish wins everyone over at first bite.
I create this braid, and the golden crust fills the kitchen with a savory, buttery aroma, reminding me of cozy mornings and homemade breakfast traditions. The seasoned chicken sizzles in the pan, juicy and flavorful, pairing perfectly with soft scrambled eggs. I layer the filling, wrap it in the dough, and place it in the oven. Watching the braid puff up and the cheese bubble is downright satisfying. When I pull it out, the golden finish and mouthwatering scent guarantee it won’t last long.
What makes this recipe shine is its flexibility. Toss in crispy bacon, fresh spinach, or a drizzle of sriracha to make it your own. This Quick Cheesy Chicken Wrap Breakfast Braid isn’t just breakfast—it’s a warm, cheesy, feel-good moment wrapped in every bite.
Perfect for:
- A fast, filling breakfast
- Meal prep mornings
- Family brunches
- Breakfast on the go
Why You’ll Love This Recipe
Here’s what makes this breakfast braid a must-try:
- High Protein – With lean chicken and eggs as the main ingredients, this braid delivers a solid protein boost that helps keep you full, energized, and ready to tackle your day. It’s a perfect option whether you’re fueling up before a workout or need a hearty breakfast to stay focused through busy hours.
- Extra Cheesy – The generous melted cheese creates a luscious, creamy layer that ties all the flavors together. Every bite offers that comforting, gooey richness that makes this braid feel indulgent without being overly heavy.
- Easy and Impressive – Don’t be intimidated by the braided appearance! The recipe uses straightforward steps that come together quickly but result in an elegant, bakery-worthy presentation. It’s a great way to impress guests or treat yourself without spending hours in the kitchen.
- Customizable – This braid is incredibly versatile. You can tailor it to your taste by adding your favorite mix-ins like fresh spinach for some greens, colorful bell peppers for a crunchy pop, or a drizzle of hot sauce for a spicy kick. The possibilities are endless!
- Grab-and-Go Friendly – Once baked, slice the braid into portions that are perfect for on-the-go breakfasts or snacks. It reheats wonderfully, making it ideal for meal prep or busy mornings when you need something tasty and portable.
Preparation and Cooking Time
- Total Time: 30 minutes
- Preparation Time: 10 minutes
- Cooking Time: 20 minutes
- Servings: 4
- Calories: Approximately 350–400 per serving
- Key Nutrients: Protein: 25g, Carbs: 22g, Fat: 18g
Ingredients
Main Ingredients:
- 1 cooked chicken breast, shredded or chopped
- 3 large eggs
- ½ cup shredded cheddar cheese
- ¼ cup shredded mozzarella cheese
- 1 refrigerated crescent dough sheet or puff pastry
- 2 tablespoons milk
- Salt and pepper, to taste
- 1 tablespoon olive oil or butter
Optional Add-Ins:
- Diced bell peppers
- Sautéed onions or spinach
- Crumbled bacon or sausage
- Dash of hot sauce or salsa for extra flavor
Ingredient Highlights
- Chicken: Provides lean protein and a savory bite.
- Eggs: Bring in classic breakfast flavor and extra protein.
- Crescent Dough: Creates a golden, flaky crust with minimal effort.
- Cheese: Adds creamy richness and that satisfying melt.
Step-by-Step Instructions
Cook the Filling:
- Scramble the Eggs: Crack the eggs into a bowl, add milk, salt, and pepper, and whisk. Heat a skillet with butter or oil, pour in the eggs, and scramble until just set.
- Combine Ingredients: In a bowl, mix the scrambled eggs, chicken, cheddar, and mozzarella. Stir in any optional mix-ins you like.
Assemble the Braid:
- Prepare the Dough: Unroll the crescent dough sheet onto a baking sheet lined with parchment paper. Press it slightly to flatten.
- Cut Strips: Using a knife or kitchen scissors, cut 1-inch slits on each side of the dough, leaving a solid strip down the middle.
- Add the Filling: Spoon the egg and chicken mixture evenly down the center.
- Braid the Dough: Fold the strips over the filling, alternating sides to create a braid. Tuck the ends underneath to seal it.
Bake and Serve:
- Bake: Place in a preheated oven at 375°F (190°C) and bake for 18–22 minutes, or until golden brown and cooked through.
- Cool and Slice: Let it rest for 5 minutes before slicing and serving warm.
How to Serve
Serve your Quick Cheesy Chicken Wrap Breakfast Braid fresh out of the oven or reheat it for a fast breakfast on the go.
- Pair with Fresh Fruit: Add a sweet, refreshing contrast.
- Serve with Salsa or Hot Sauce: Bring in extra flavor and kick.
- Enjoy with Coffee or Smoothie: Create a balanced, energizing morning meal.
- Pack It for Later: Wrap slices in foil or parchment for a portable breakfast.
Additional Tips
- Use rotisserie chicken to save time.
- Add veggies like bell peppers or spinach to increase the fiber and nutrients.
- Brush the top with a little melted butter before baking for extra golden color.
- If using puff pastry, thaw it fully before assembling.
- Reheat leftovers in a toaster oven or air fryer for best texture.
Recipe Variation
- Go Spicy – Crank up the heat by mixing in chopped jalapeños, a handful of shredded pepper jack cheese, or a dash of red chili flakes into the burger mix. You can also top your burger with spicy mayo or hot sauce for an extra kick.
- Go Veggie – Looking for a meatless option? Skip the chicken entirely and create a hearty veggie patty using sautéed mushrooms, chopped spinach, diced tomatoes, and white cheddar, bound together with an egg and a bit of almond flour or breadcrumbs. It’s still packed with flavor and satisfying texture.
- Go Mediterranean – Infuse your burger with Greek flair by adding crumbled feta cheese, chopped Kalamata olives, and sun-dried tomatoes into the mix. Serve it in a pita or on a bed of greens with a drizzle of tzatziki sauce for a fresh and savory twist.
- Go Southwestern – Bring bold Southwestern flavor by tossing in black beans, sweet corn kernels, and a sprinkle of taco seasoning. Serve with avocado slices, fresh cilantro, and a dollop of salsa or chipotle mayo to complete the theme.
Freezing and Storage
- To keep your braid fresh and delicious, start by allowing it to cool completely after baking. This step is essential because wrapping it while still warm can trap moisture, leading to sogginess or freezer burn. Once fully cooled, wrap the braid tightly in foil or plastic wrap to create a protective barrier against air and moisture. For extra protection, place the wrapped braid inside an airtight, freezer-safe container or a resealable freezer bag. Properly stored, your braid can be frozen for up to 1 month, maintaining its flavor and texture without drying out or becoming freezer-burned.
- When you’re ready to enjoy your frozen braid, thaw it overnight in the refrigerator for best results. Then reheat it in the oven or air fryer to warm it through and restore that crisp, golden crust, giving you a freshly baked taste and texture. Reheating in the air fryer is especially effective for bringing back a crunchy exterior while keeping the inside soft and tender.
- For short-term storage, place any leftover braid in an airtight container and refrigerate. This will help retain its moisture and keep it flavorful for up to 3 days. When ready to eat, you can enjoy the braid cold, especially if you like a chewier texture, or gently warm it in the oven or microwave. Reheating gently helps soften the bread while maintaining its comforting, fresh-from-the-oven appeal without drying it out.
Special Equipment
- Baking Sheet: For even baking and support.
- Sharp Knife or Kitchen Scissors: To cut dough strips neatly.
- Parchment Paper: Prevents sticking and makes cleanup easy.
- Mixing Bowls and Skillet: For prepping the filling.
FAQ Section
Can I use canned chicken?
Yes, drain it well and shred it before mixing it into the filling.
Can I make it ahead of time?
Absolutely! Assemble the braid, refrigerate it overnight, and bake in the morning.
Can I microwave it?
Yes, but for best texture, reheat it in an oven or toaster oven.
Is there a low-carb version?
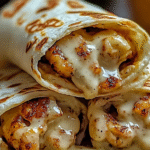
Swap the crescent dough for a low-carb tortilla or wrap—fold it into a burrito-style breakfast wrap and toast it instead.
Quick Cheesy Chicken Wrap Breakfast Braid
Ingredients
Method
- Cook the Filling:
- Scramble the Eggs: Crack the eggs into a bowl, add milk, salt, and pepper, and whisk. Heat a skillet with butter or oil, pour in the eggs, and scramble until just set.
- Combine Ingredients: In a bowl, mix the scrambled eggs, chicken, cheddar, and mozzarella. Stir in any optional mix-ins you like.
- Assemble the Braid:
- Prepare the Dough: Unroll the crescent dough sheet onto a baking sheet lined with parchment paper. Press it slightly to flatten.
- Cut Strips: Using a knife or kitchen scissors, cut 1-inch slits on each side of the dough, leaving a solid strip down the middle.
- Add the Filling: Spoon the egg and chicken mixture evenly down the center.
- Braid the Dough: Fold the strips over the filling, alternating sides to create a braid. Tuck the ends underneath to seal it.
- Bake and Serve:
- Bake: Place in a preheated oven at 375°F (190°C) and bake for 18–22 minutes, or until golden brown and cooked through.
- Cool and Slice: Let it rest for 5 minutes before slicing and serving warm.
Conclusion
Whip up Quick Cheesy Chicken Wrap Breakfast Braid and enjoy a wholesome and delicious treat that balances savory flavor and satisfying texture. Load it with seasoned chicken, melty cheese, and fresh veggies for a versatile choice for breakfast, brunch, or even a quick dinner. Delight kids and adults alike with its golden crust and rich, cheesy filling—it’s a must-have addition to your recipe collection.
Get creative by customizing this braid with your favorite sauces, veggies, or herbs for added flavor and flair. Enjoy it fresh from the oven or pack it up for an on-the-go meal that doesn’t compromise on taste.
Bake one today, fill your kitchen with its mouthwatering aroma, and share the joy. Snap a photo of your creation and share it on Instagram—tag me so we can celebrate your kitchen success. Happy cooking!