Introduction
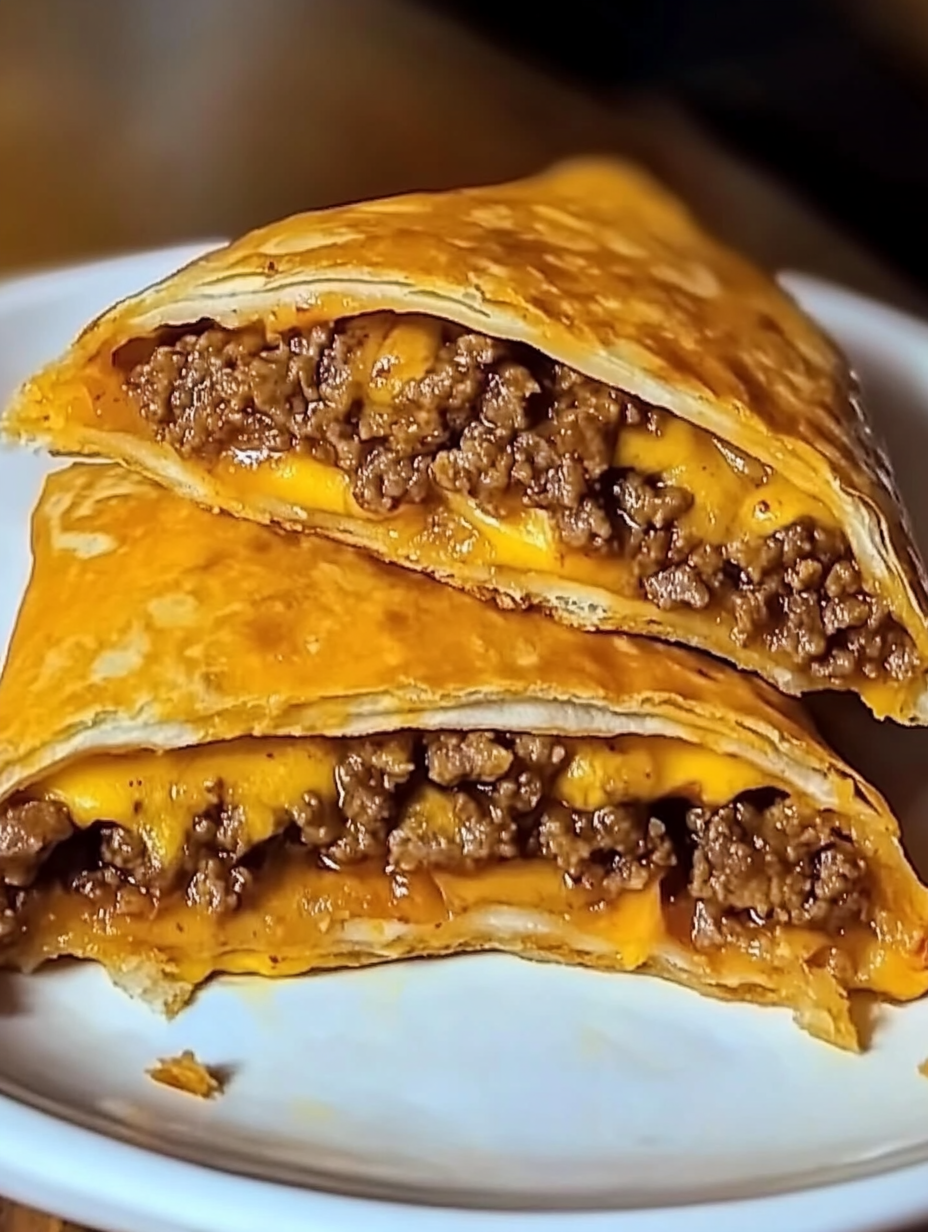
Cheeseburger Pockets are a fun, handheld twist on the classic American burger, wrapping all the bold, savory flavors you love in a golden, flaky crust. Each pocket bursts with juicy ground beef, melted cheese, and tangy pickles, all tucked inside soft dough that bakes up crisp on the outside and warm within. Whether you’re planning a weeknight dinner, game-day snack, or casual get-together, these pockets deliver satisfying bites every time.
I craft these pockets from scratch, browning the beef until it sizzles and fills the kitchen with that familiar, mouthwatering aroma. I stir in seasoning and cheese until the mixture becomes gooey and irresistible. The dough stretches under my fingers as I fold in the filling, sealing in all that goodness. As they bake, the pockets puff and turn a golden brown, sending out warm, savory smells that bring everyone to the kitchen.
What makes this recipe shine is its versatility. You can toss in caramelized onions, a splash of hot sauce, or even swap in turkey or plant-based meat. These Cheeseburger Pockets aren’t just a meal—they’re a comforting, crowd-pleasing creation that brings the burger experience into your hands, no grill required.
Perfect for:
- Weeknight dinners
- Meal prep and freezer-friendly meals
- Kids’ lunches or after-school snacks
- Burger night with a twist
Why You’ll Love The Cheeseburger Pockets
These Cheeseburger Pockets hit all the right notes:
- Classic Burger Taste: Every bite delivers the familiar, crave-worthy flavors of a cheeseburger—juicy, perfectly seasoned ground beef, melted cheese that stretches with each bite, and just the right amount of savory richness. All of this is wrapped in a soft, golden-baked dough that adds a warm, comforting texture. It’s like your favorite drive-thru meal, but made from scratch with love and even more satisfying because you know exactly what’s inside.
- Easy to Prep: With just a handful of simple pantry staples and straightforward steps, these pockets come together in no time. No fancy kitchen gadgets or complicated cooking skills needed—just classic comfort food that’s both approachable and delicious. The fact that everything bakes neatly inside these pockets means minimal mess and quick cleanup, so you can spend less time in the kitchen and more time enjoying your meal.
- Customizable: Whether you’re all about pickles, love a little crunch from diced onions, or swear by that perfect burger sauce, these pockets are made for customization. You can add ketchup, mustard, relish, or any favorite condiment inside before sealing. Make each pocket unique to suit different tastes and dietary needs—perfect for feeding a crowd or keeping picky eaters happy. The possibilities are endless, letting you tailor each bite to exactly how you like it.
- Freezer-Friendly: These pockets are a dream come true for meal preppers. Bake a big batch, then freeze them individually wrapped so you always have a quick, grab-and-go meal ready in your freezer. They reheat beautifully without losing their gooey cheese or juicy filling, making busy weeknights or last-minute lunches effortless. No need to thaw in advance—just heat and eat.
Cheeseburger Pockets Preparation and Cooking Time
- Total Time: 35 minutes
- Prep Time: 15 minutes
- Cook Time: 20 minutes
- Servings: 6 pockets
- Calories: ~390 per pocket
- Key Nutrients: Protein: 24g | Carbs: 28g | Fat: 22g
Ingredients for Cheeseburger Pockets
- 1 lb ground beef
- 1 small onion, finely diced
- 2 tbsp ketchup
- 1 tbsp yellow mustard
- Salt and pepper to taste
- 6 slices cheddar cheese (or 1½ cups shredded)
- 1 can refrigerated biscuit dough (8-count) or pizza dough
- 1 egg, beaten (for egg wash)
- Optional fillings: chopped pickles, cooked bacon, sautéed mushrooms
Steps on making Cheeseburger Pockets
Cook the Filling:
- Heat a skillet over medium heat.
- Add ground beef and onion, cooking until browned and the onions soften.
- Drain excess fat.
- Stir in ketchup, mustard, salt, and pepper.
- Simmer for 1–2 minutes, then remove from heat to cool slightly.
Assemble the Pockets:
- Preheat your oven to 375°F (190°C) and line a baking sheet with parchment paper.
- Flatten each biscuit (or cut dough into 6 equal squares) into a 5–6 inch round.
- Spoon about 2–3 tablespoons of the beef mixture onto one half of each dough piece.
- Top with a slice or small handful of cheddar cheese.
- Fold the dough over the filling and pinch the edges to seal. Use a fork to crimp for extra security.
- Brush the tops with beaten egg for a golden finish.
Bake and Serve:
- Bake for 18–20 minutes or until the pockets turn golden brown and puff slightly.
- Let them cool for 5 minutes before serving.
How to Serve the Cheeseburger Pockets
- Serve warm with ketchup, mustard, or your favorite dipping sauce.
- Pair with fries, a side salad, or roasted veggies.
- Wrap them in foil and pack for lunch or road trips.
Additional Tips for Cheeseburger Pockets
- Let the meat cool slightly before filling to prevent soggy dough.
- Don’t overfill the pockets or they might burst while baking.
- Use parchment paper to prevent sticking and make cleanup easier.
- For extra flavor, mix chopped pickles or crispy bacon into the filling.
Recipe Variations for Cheeseburger Pockets
- Bacon Cheeseburger Pockets: If you’re a fan of that smoky, salty crunch bacon brings to a classic cheeseburger, this variation is for you. Simply fold cooked, crumbled bacon right into the seasoned ground beef mixture before stuffing the pockets. The crispy bacon bits meld beautifully with the juicy beef and gooey cheese, creating a deeper, richer flavor that elevates the whole dish. It’s an easy upgrade that feels indulgent without extra fuss.
- Pickle Lovers: For those who live for the tangy snap of pickles on their burgers, adding thin slices of dill pickles inside each pocket is a game changer. The pickles stay crisp even after baking, offering a refreshing burst of acidity that perfectly balances the richness of the meat and cheese. This zingy addition mimics that perfect pickle bite you get with a traditional burger, satisfying pickle enthusiasts bite after bite.
- Spicy Kick: Bring some heat to your pockets by mixing finely chopped jalapeños into the beef filling or sprinkling them over the cheese before sealing. Swap out the usual cheddar for pepper jack to infuse a subtle, spicy creaminess, or add a drizzle of sriracha or your favorite hot sauce inside before baking. This variation packs a bold, fiery punch while keeping the comforting cheeseburger flavor front and center — ideal for spice lovers looking to kick things up a notch.
- Double Cheeseburger: Why settle for one kind of cheese when you can have two? Layer sharp cheddar for its bold bite with creamy mozzarella for meltiness, or try cheddar paired with nutty Swiss cheese for a more complex flavor profile. Doubling the cheese means every pocket is loaded with extra gooey, melty goodness that makes each bite even more irresistible, turning these pockets into a cheesy lover’s dream.
Freezing and Storage
- Cool Completely: Before storing, allow the cheeseburger pockets to cool down fully at room temperature. This helps prevent excess moisture buildup that can lead to soggy crusts and freezer burn.
- How to Freeze: For best results, wrap each pocket individually in aluminum foil or plastic wrap. This protects them from freezer burn and makes them easy to grab one at a time. Once wrapped, place all the pockets into a large resealable freezer bag or airtight container. Label with the date and freeze for up to 2 months.
- Reheating from Frozen: No need to thaw! To reheat directly from the freezer, place the wrapped pocket on a baking sheet and warm it in a preheated oven at 350°F (175°C) for about 10–12 minutes, or until heated through and the crust is crisp. For a faster option, unwrap and microwave on a plate for 1–2 minutes, checking for doneness halfway through.
- Storing in the Fridge: If you have leftovers or are meal prepping, you can refrigerate cooked pockets in an airtight container for up to 3 days. To reheat, use the oven for the crispiest results, or the microwave for a quick fix.
Special Equipment
- Skillet for cooking beef
- Baking sheet lined with parchment paper
- Rolling pin (optional) for flattening dough
- Fork for crimping edges
FAQ
Can I use homemade dough?
Yes! Pizza dough or your favorite bread dough works perfectly.
Can I make these ahead of time?
Absolutely—assemble and refrigerate or freeze until ready to bake.
What cheese works best?
Cheddar gives that classic cheeseburger flavor, but you can try Swiss, American, or pepper jack.
Can I add veggies?
Yes—sautéed mushrooms, bell peppers, or jalapeños add a tasty twist.
Cheeseburger Pockets
Ingredients
Method
- Heat a skillet over medium heat.
- Add ground beef and onion, cooking until browned and the onions soften.
- Drain excess fat.
- Stir in ketchup, mustard, salt, and pepper.
- Simmer for 1–2 minutes, then remove from heat to cool slightly.
- Preheat your oven to 375°F (190°C) and line a baking sheet with parchment paper.
- Flatten each biscuit (or cut dough into 6 equal squares) into a 5–6 inch round.
- Spoon about 2–3 tablespoons of the beef mixture onto one half of each dough piece.
- Top with a slice or small handful of cheddar cheese.
- Fold the dough over the filling and pinch the edges to seal. Use a fork to crimp for extra security.
- Brush the tops with beaten egg for a golden finish.
- Bake for 18–20 minutes or until the pockets turn golden brown and puff slightly.
- Let them cool for 5 minutes before serving.
Notes
Conclusion
Make Cheeseburger Pockets and savor a comforting, flavor-packed meal that wraps all the goodness of a classic burger into a warm, golden pocket. Filled with seasoned ground beef, melty cheese, and your favorite fixings, these handheld delights are perfect for busy weeknights, lunches, or game-day snacks. Their crispy exterior and juicy filling will win over kids and adults alike—definitely a recipe worth adding to your rotation.
Get creative by switching up the fillings—try adding sautéed onions, pickles, or even a little bacon for a fun twist. Serve them with ketchup, mustard, or your favorite dipping sauce for that full burger experience in every bite.
Bake a batch today, fill your kitchen with their mouthwatering aroma, and share the joy. Snap a photo of your masterpiece and share it on Instagram—tag me so we can celebrate your cooking success. Happy baking!