Ingredients
Equipment
Method
- Preheat oven to 375°F (190°C). Line a baking sheet with parchment paper.
- Open the can of biscuit dough and separate into 8 pieces. Cut each piece in half to make 16.
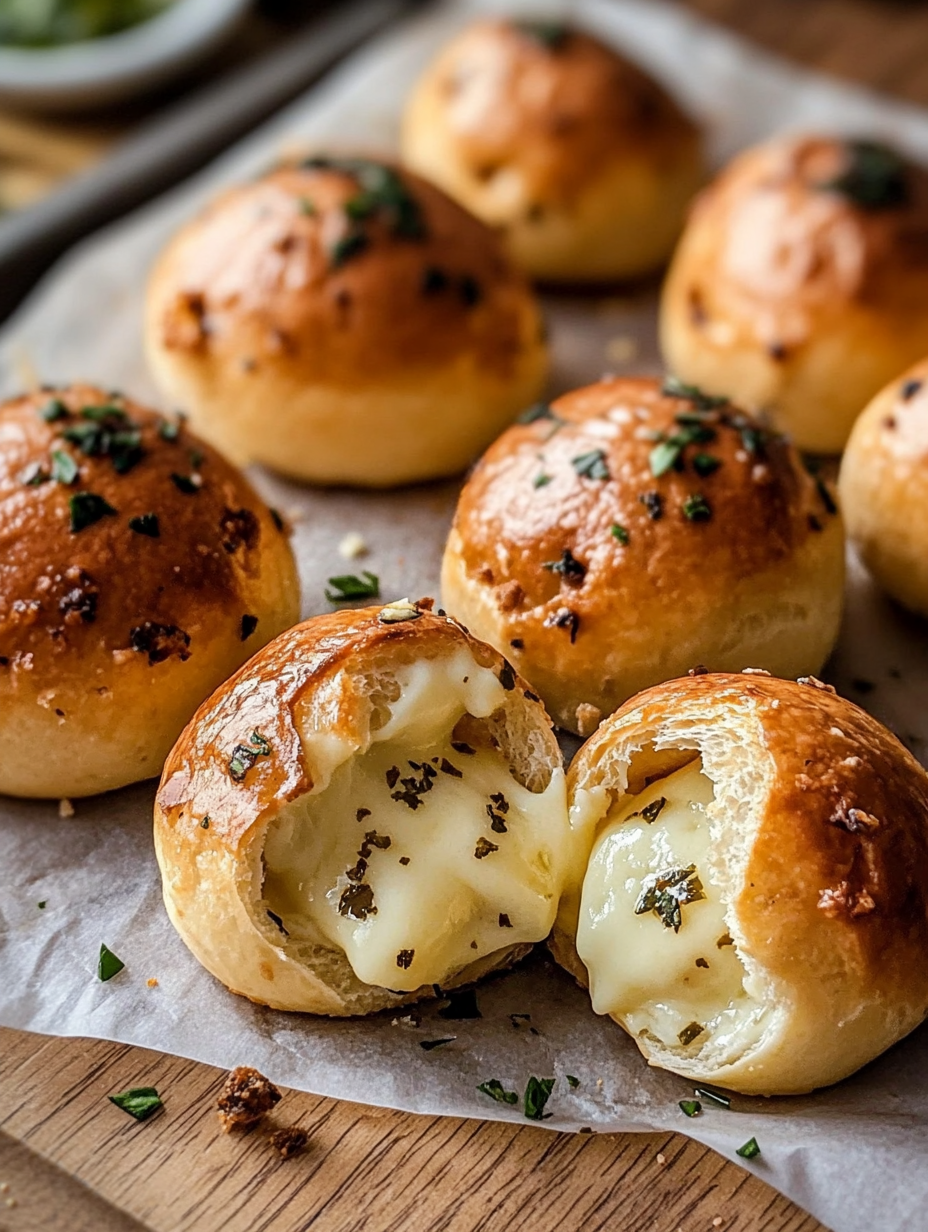
- Place one piece of mozzarella in the center of each dough half. Wrap dough around cheese and pinch edges tightly to seal.
- Arrange cheese bombs seam-side down on the baking sheet.
- In a small bowl, mix melted butter, minced garlic, Italian seasoning, and parsley.
- Brush each dough ball generously with garlic butter mixture.
- Sprinkle grated Parmesan over the top.
- Bake for 12–15 minutes or until golden brown and bubbly.
- Serve warm and watch them disappear!
Notes
Garlic Butter Cheese Bombs – Helpful Tips
Cooking Tips & Techniques- Use refrigerated biscuit dough for a quick shortcut, but if you’ve got time, homemade pizza dough makes these bombs extra pillowy.
- When wrapping the cheese, pinch the seams tightly so it doesn’t ooze out during baking.
- Use a cast-iron skillet or parchment-lined baking sheet for even browning.
- For maximum flavor, brush with garlic butter both before and after baking. The second brush adds that glossy finish and rich buttery punch.
- Bake until golden brown (12–15 minutes) and avoid overbaking to keep them soft and gooey inside.
- Serve hot with a side of marinara sauce, ranch, or garlic aioli for dipping.
- Add freshness with a sprinkle of chopped parsley, basil, or even a dash of red pepper flakes for heat.
- Perfect as a party appetizer, game day snack, or a fun bread basket swap at dinner.
- Pair with a crisp green salad, pasta dish, or a bowl of soup for a complete meal.
- Assemble the bombs ahead and refrigerate for up to 24 hours before baking. Just brush with garlic butter right before they hit the oven.
- Store leftovers in an airtight container in the fridge for 2–3 days.
- Freeze unbaked bombs on a tray, then transfer to a freezer bag for up to 2 months. Bake straight from frozen, adding 3–5 minutes to the cook time.
- Reheat baked bombs in the oven at 350°F for 5–7 minutes to keep them crisp and melty. Avoid the microwave—it makes them rubbery.
- Spice it up with jalapeño slices or a sprinkle of crushed red pepper inside each bomb.
- Swap mozzarella with cheddar, pepper jack, or gouda for different cheesy surprises.
- Make them vegetarian-friendly with a pesto filling or sun-dried tomatoes.
- Low-carb/keto swap: Use fathead dough instead of biscuit dough.
- Go international: Try an Italian spin with pepperoni and marinara inside, or a Tex-Mex twist with taco-seasoned beef and cheddar.
